I haven’t posted on the blog lately. I’ve been busy with holiday stuff, and neither of the two projects I’m working on, are ready for sharing. I’m sharing this image because I’ve had a few friends interested in seeing how the quilt comes together. The timing has been off to show them in person. Before I finish this quilt up, I thought I would share an in process image, and share how I put a quilt together. There are other ways. This is how I like to do it.
I have a large table that allows me to spread out a twin size quilt on it. I have also used the floor. I first lay the back face down on the floor or table. I have weights that I use to hold down the edges. For the weights, I use cans, sash weights from an old window, and a long heavy ruler. Then, I spread out the batting. I use 100% natural cotton batting. I get it as flat as I can over the back of the quilt. I move the weights up on top of the batting. The top of the quilt, face up, goes over that, and again I move the weights up. You want the back and the batting to be larger than the top. Then, I start pinning. Using safety pins, I pin about every two inches, pinning all three layers together. Once, I ran out of safety pins, and didn’t want to go to the store. I had some long straight pins. They don’t work. When you quilt with straight pins, they poke you.
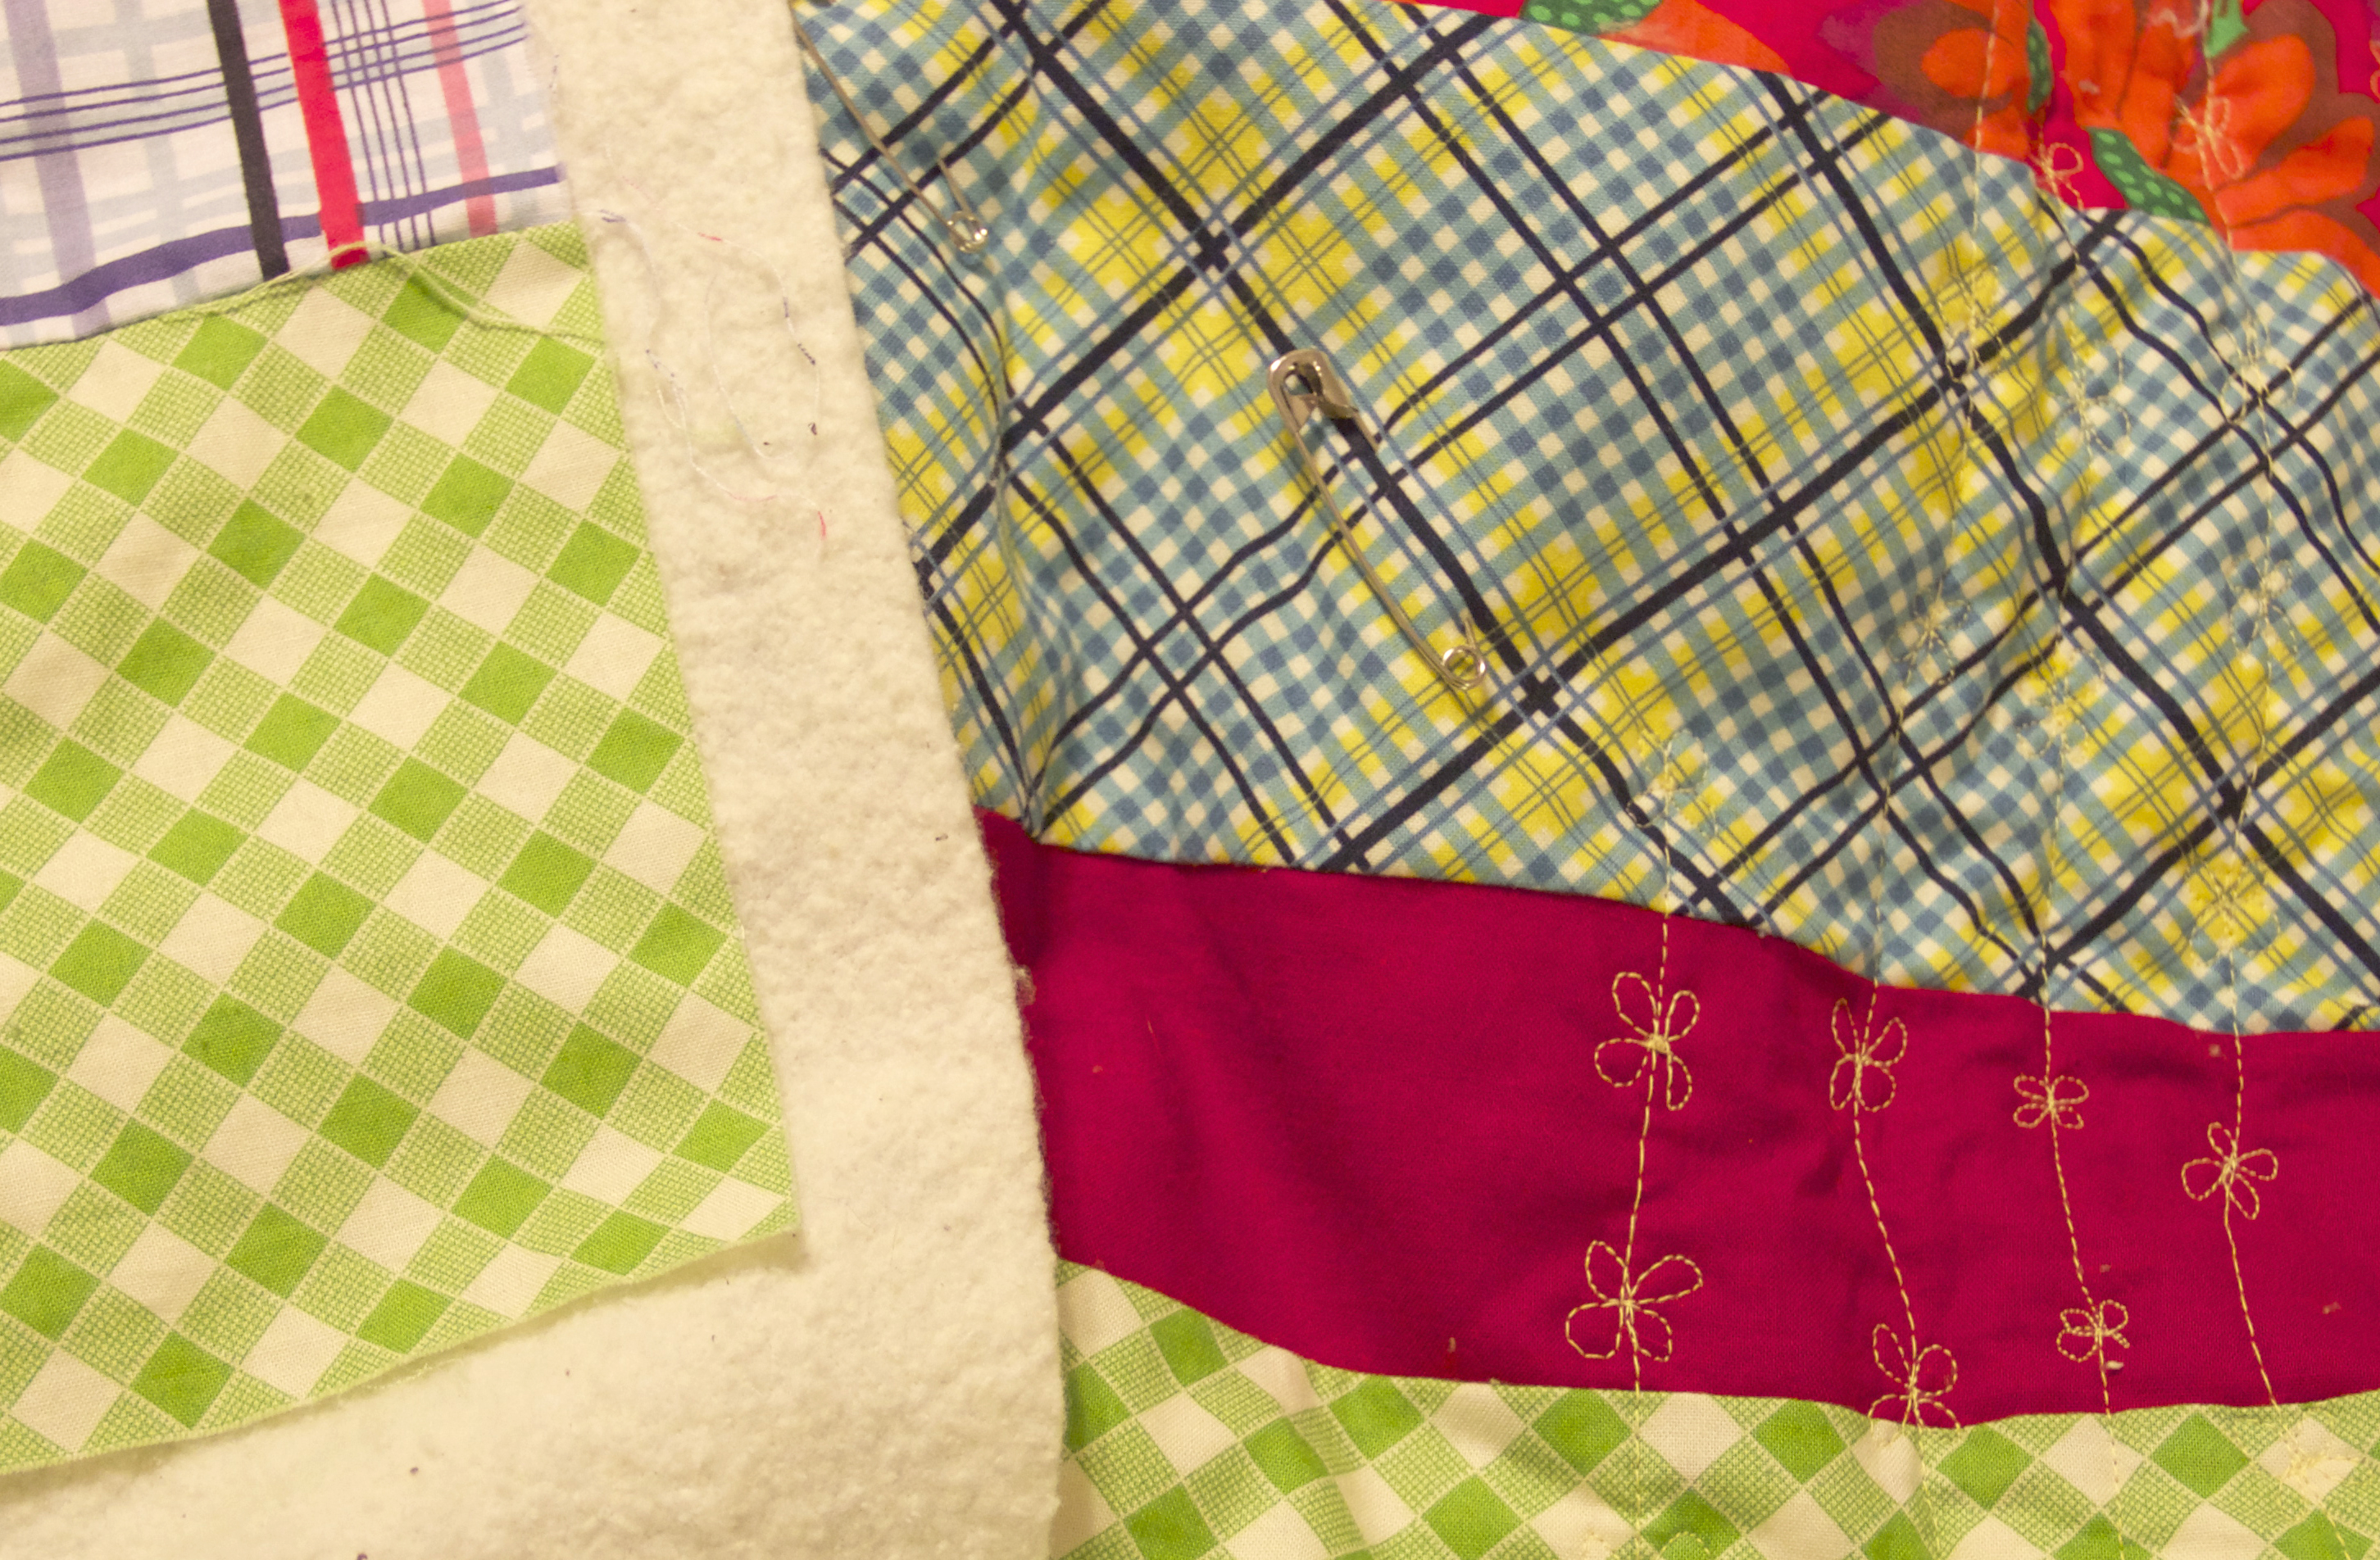
After it is all pinned, you are ready to quilt. I start in the middle and work my way out. As I sew I remove the safety pins. In the picture, you can see the back, the batting, the pins, and where I have finished quilting. After I finish quilting, I trim of the extra backing and batting. There are also different ways to do the binding. The below link is to a video I used when learning how bind a quilt. I’m so excited to see this one finished. Work has started up for me, but I hope to have it finished soon.
